Github Actions
Github Actions 是 GitHub 官方 CI 工具,与 GitHub 无缝集成。
CI/CD (continuous integration and continuous deployment)
准备 github repo
在本地建立一个Hexo站点,可以参考官方快速开始文档。
建立两个GitHub仓库。
- 存储博客源文件 可以是私有的
- 挂载GitHub Pages。
在 blog 根目录下添加 .gitignore 文件,添加
.DS_Store
Thumbs.db
*.log
node_modules/
public/
.deploy*/
将本地的博客源文件推送到 github 仓库。
准备秘钥
生成 ssh 部署私钥
$ ssh-keygen -t rsa -b 4096 -C "$(git config user.email)" -f github-deploy-key -N ""
GitHub Pages 的 repo 里的 Settings/Deploy keys 中添加刚刚生成的公钥 Title 随便 值为刚刚生成的公钥
github-deploy-key.pub
存储博客源文件 的 repo 里的 Settings/Secrets 中添加 DEPLOY_KEY,值为刚刚生成的私钥
github-deploy-key
注意:切记不要多复制空格!!!
切记要勾选 Allow write access,否则会出现无法部署的情况。
配置 Hexo 的 _config.yml
添加部署配置。
# Deployment
## Docs: https://hexo.io/docs/deployment.html
deploy:
- type: git
  repo: git@github.com:xxxx/xxxx.git # 使用仓库的ssh地址
  branch: master
配置 GitHub Actions
在 blog 的根目录下新建 .github/workflow/deploy.yml ,编写如下配置。
name: Deploy

on: [push]

jobs:
  build:
    runs-on: ubuntu-latest
    name: A job to deploy blog.
    steps:

    - name: Checkout
      uses: actions/checkout@v1
      with:
        submodules: true

    - name: Cache node modules
      uses: actions/cache@v1
      id: cache
      with:
        path: node_modules
        key: ${{ runner.os }}-node-${{ hashFiles('**/package-lock.json') }}
        restore-keys: |
                    ${{ runner.os }}-node-

    - name: Install Dependencies
      if: steps.cache.outputs.cache-hit != 'true'
      run: npm ci

    - name: Deploy
      id: deploy
      uses: sma11black/hexo-action@v1.0.3
      with:
        deploy_key: ${{ secrets.DEPLOY_KEY }}

    - name: Get the output
      run: |
                echo "${{ steps.deploy.outputs.notify }}"
验证
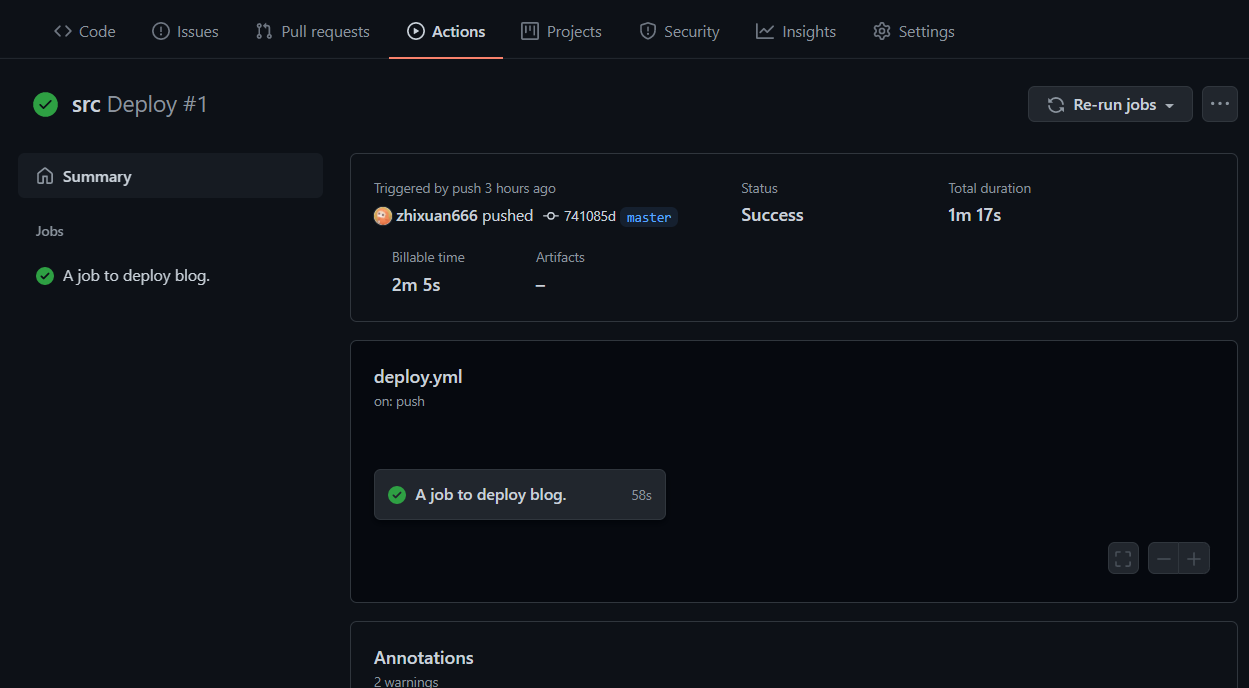
现在 Hexo 已经和 GitHub Actions 已经集成了,接下来在博客源码分支上推送代码即可自动编译部署。具体
执行过程可以在 Actions 中查看: